
TM 10-8340-243-13&P
0012
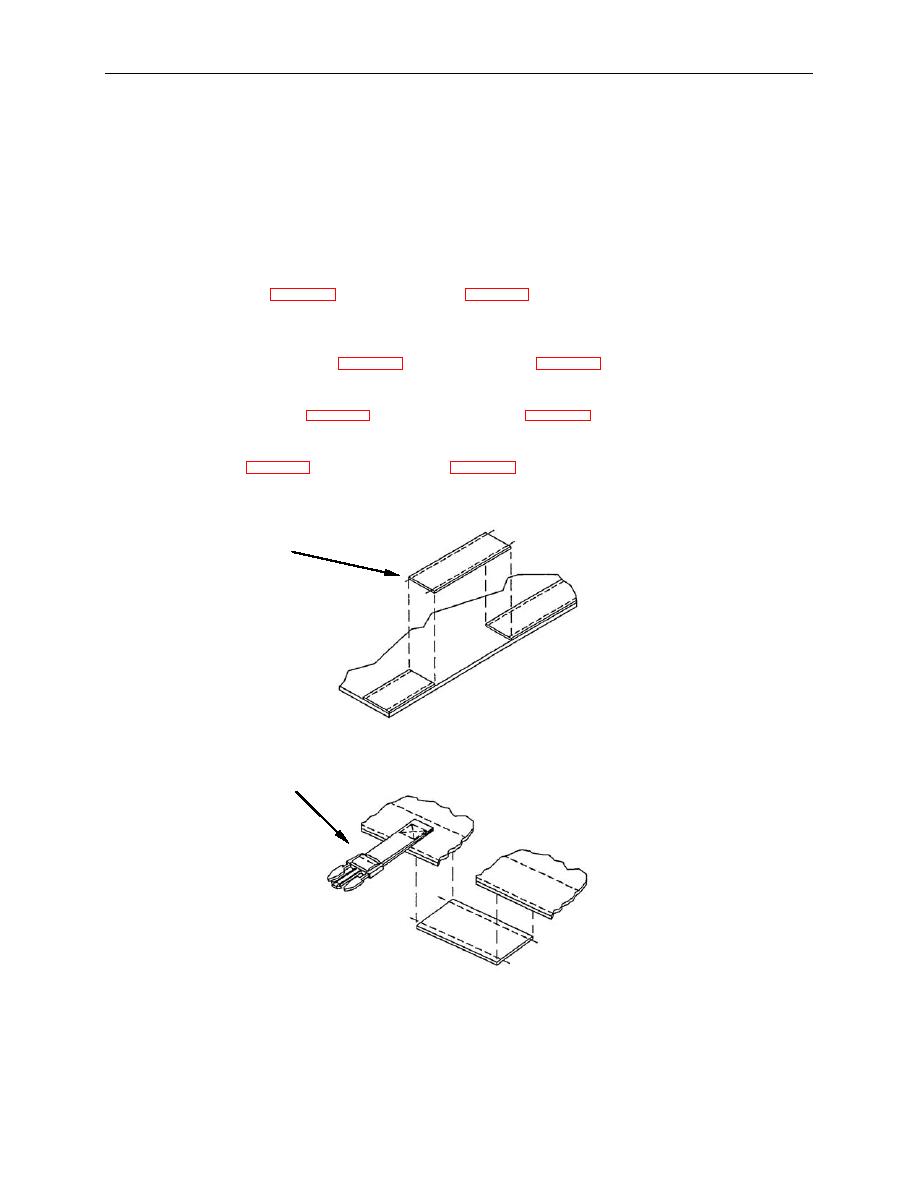
Repair Webbing and Buckles
NOTE
It is not necessary to replace an entire piece of
webbing when only a small portion is damaged and
webbing does not need to be threaded through a
buckle for adjustment. The damaged area can be
cut out and replaced, leaving a portion of the original
piece in place.
1. Identify the webbing (Figure 5, Item 1) or buckle (Figure 5, Item 2) component that is damaged and
obtain a replacement, or fabricate one from bulk or serviceable salvage stocks. For fixed webbing
pieces, add an inch to length of replacement piece.
Undamaged components should be removed and salvaged wherever possible.
new assemblies.
4. Position webbing (Figure 5, Item 1) and buckle (Figure 5, Item 2) assemblies on tent fabric and sew.
For fixed webbing pieces, overlap each end by inch.
1
2
END OF TASK
