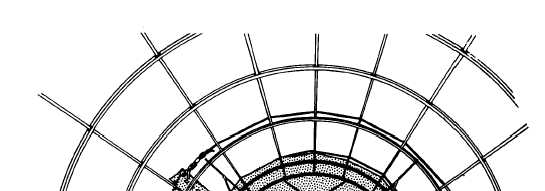
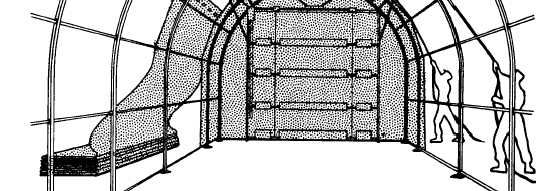
Figure 3–13. Attaching outer skin intermediate section to tent frame.
slides into the gusset. No other attachment is
necessary.
(5) Attach the diagonal door control arm
to the top post bracket (5) with the toggle pin
and chain assembly.
(6) Attach the opposite doorpost assembly
in a similar manner.
Caution: Make certain that the INSIDE
FACE marking faces the similar marking on
the opposite doorpost assembly.
b. Door Spar Installation. To install the door
spar assemblies, proceed as outlined below,
working on both vehicle doors simultaneously.
(1) Insert a door spar assembly into each
of the bottom three door spar pockets of the
vehicle door (fig. 3-17).
(2) Raise a fourth spar over the installed
spars and insert the hoisting cables from the
transom chord and door winch assembly alter-
3-14
nately through the door spars and the D-rings
on the vehicle door fabric. Lock the toggles of
the hoisting cables under the bottom door spar
(A, fig. 3-18). The uppermost spar will re-
main in place, held by the hoist cables and D-
rings (B, fig. 3-18).
(3) Pull down the chain bolt control rod
on each doorpost assembly to unlock chain bolts
from strike plates and release doorpost top
assemblies (A, fig. 3-19 ).
(4) Pull the hoist chain to raise vehicle
door and insert all door spar rollers in channels
of the doorpost assemblies (B, fig. 3-19). Lock
the hoist chain in the chain retainer.
(5) Close and lock the doorpost lock as-
semblies.
(6) Release the hoist chain from the chain
retainer and pull the hoist chain to lower the
vehicle door, making certain that all spar roll-
ers are in the doorpost channels.