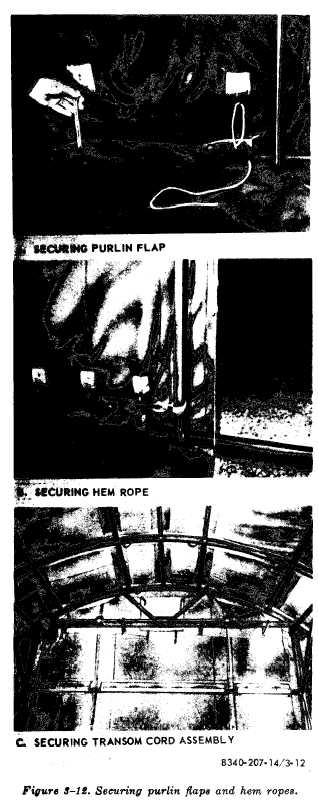
Figure 3-12. Se
side simultaneously, pass the transverse line
over the next higher purlin, pull down to
tighten, and secure with a knot. Pass the se-
curing strap across the arch, fasten the D-ring
to the nearest J-hook, and tighten the strap by
adjusting the buckle assembly (B, fig. 3-14).
(7) Install additional intermediate sec-
tions in a similar manner.
d. End Section.
(1) Follow the procedure outlined in b (1)
through (5) above.
(2) Secure transverse line and securing
strap as outlined in b (6) above.
(3) Secure transom chord securing straps
as outlined in b (7) above.
3-11. Vehicle Doors
a. Doorpost Installation. To install either
doorpost assembly, proceed as follows:
Note. The door control arm of each assembly is
marked INSIDE FACE. These markings must face
each other when the doorposts are erected.
(1) Slide the end wall stiffener into its
receiving channel in the doorpost (fig. 3-16).
The stiffener is a manila rope sewn into the
end wall hem of each tent end section. To in-
stall the doorpost proceed as follows:
(a) Lay the doorpost assembly on the
ground with the gusset at the top, facing an
end arch.
(b) Lift the gusset end of the doorpost
to a point at which a lower corner of the end
wall hem and stiffener can be fed into the chan-
nel. Feed the stiffener into the channel to as-
sure proper fit.
(c) Raise the doorpost assembly to an
upright position.
(2) Use a ladder or other suitable device
and secure the top of the doorpost assembly
to the moveable socket on the end arch, by
using the eyebolt and. eye pin and chain assem-
blies.
(3) Attach the diagonal door control arm
to the door control arm with the toggle pin and
chain assembly (B, fig. 3-16).
(4) Insert the door control arm (2, fig
1-5) into the doorpost gusset (3). The arm
3 - 1 3


